How to Find and Secure Plain-Text GitHub 2FA Backup Codes
Github Two-Factor backup codes are as good as real passwords. It's important that they are secured.
What Are GitHub Two-Factor Backup Codes?
When setting up two-factor authentication, a user is typically asked to save a series of codes which can be used to access the system in the event they lose access to their authenticator app (like when they get a new phone).
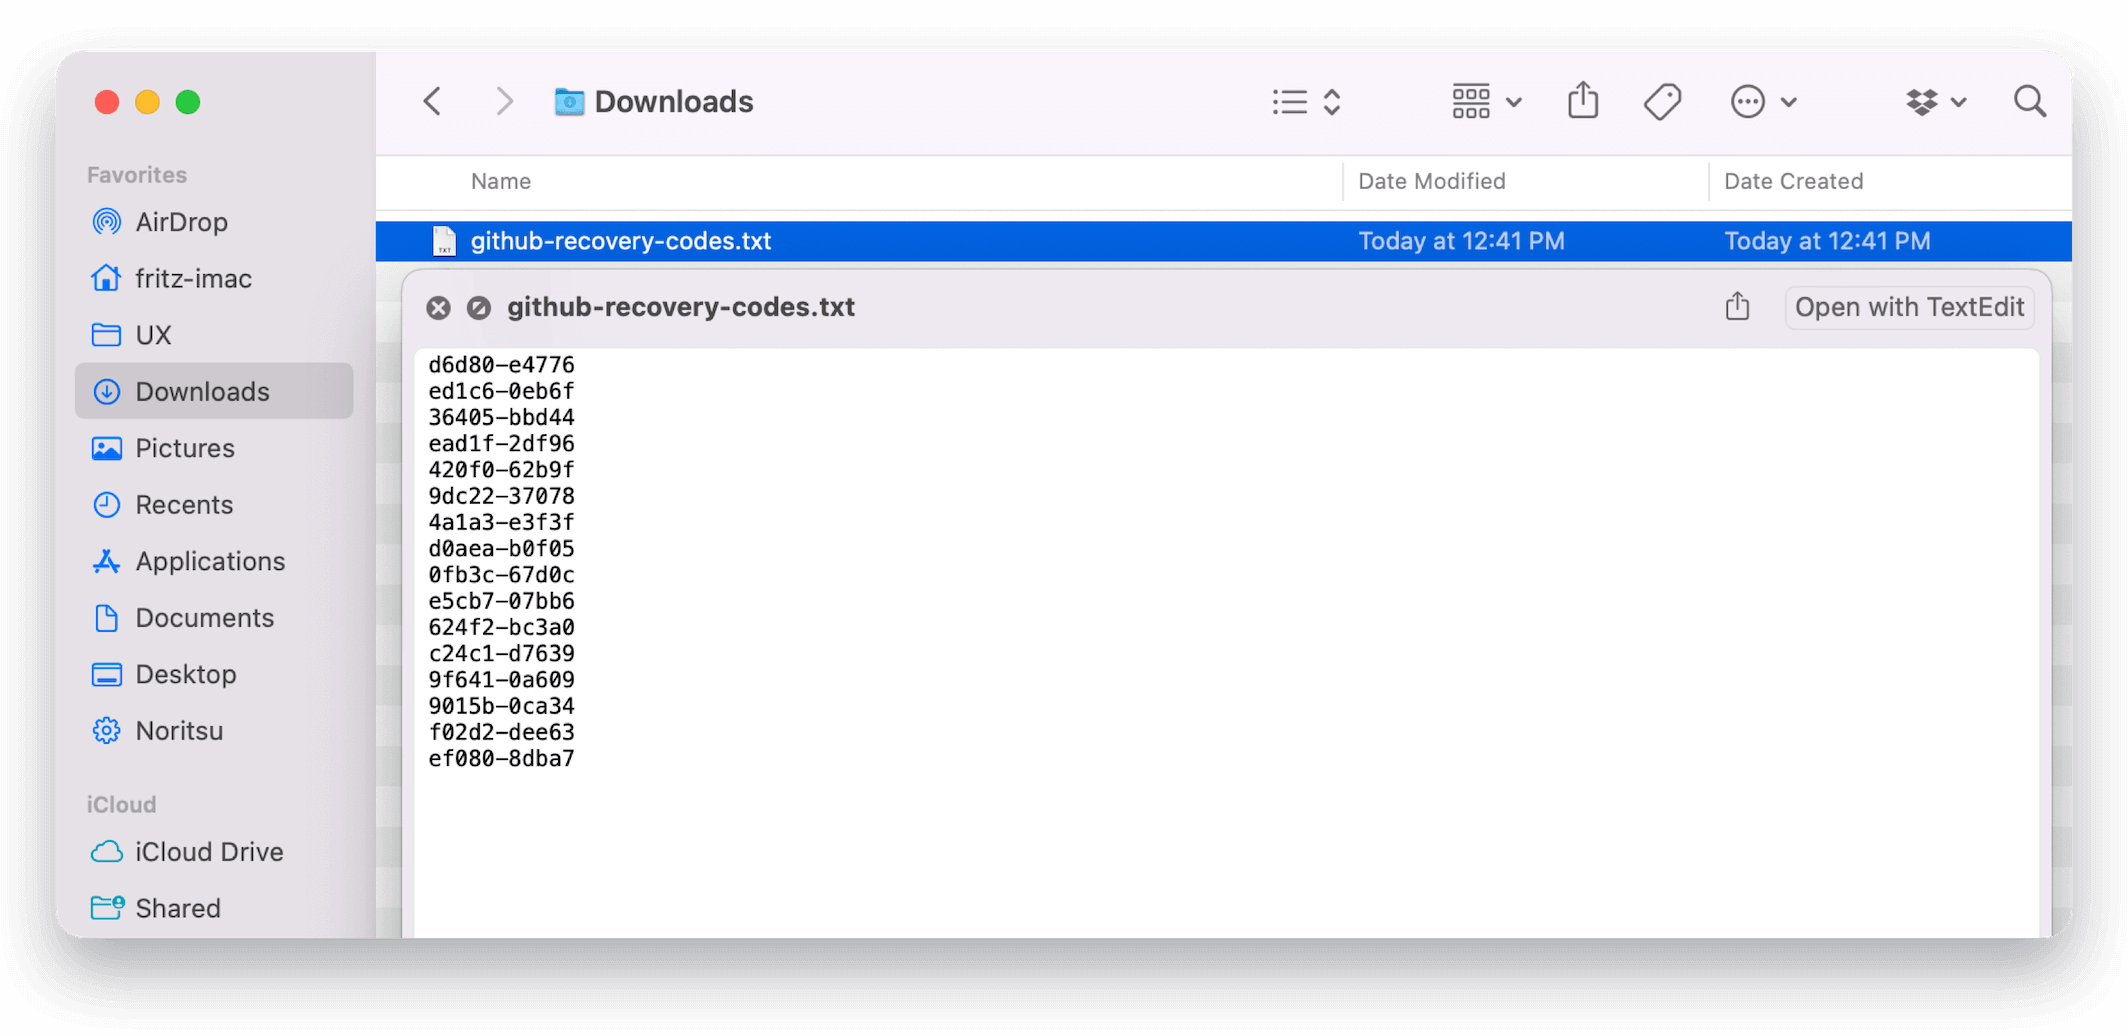
Unfortunately, people often tend to simply save these codes to their Downloads folder and forget about them. This is not just bad for compliance, but creates opportunities for a motivated attacker to circumvent many of the benefits of a two-factor authentication system. Combine this bad habit with another issue, like a lost device without full disk encryption, or someone syncing their Downloads folder to a service like Dropbox, you now have the potential for a serious incident.
How Does an Unsecure 2FA Code End Up on Disk?
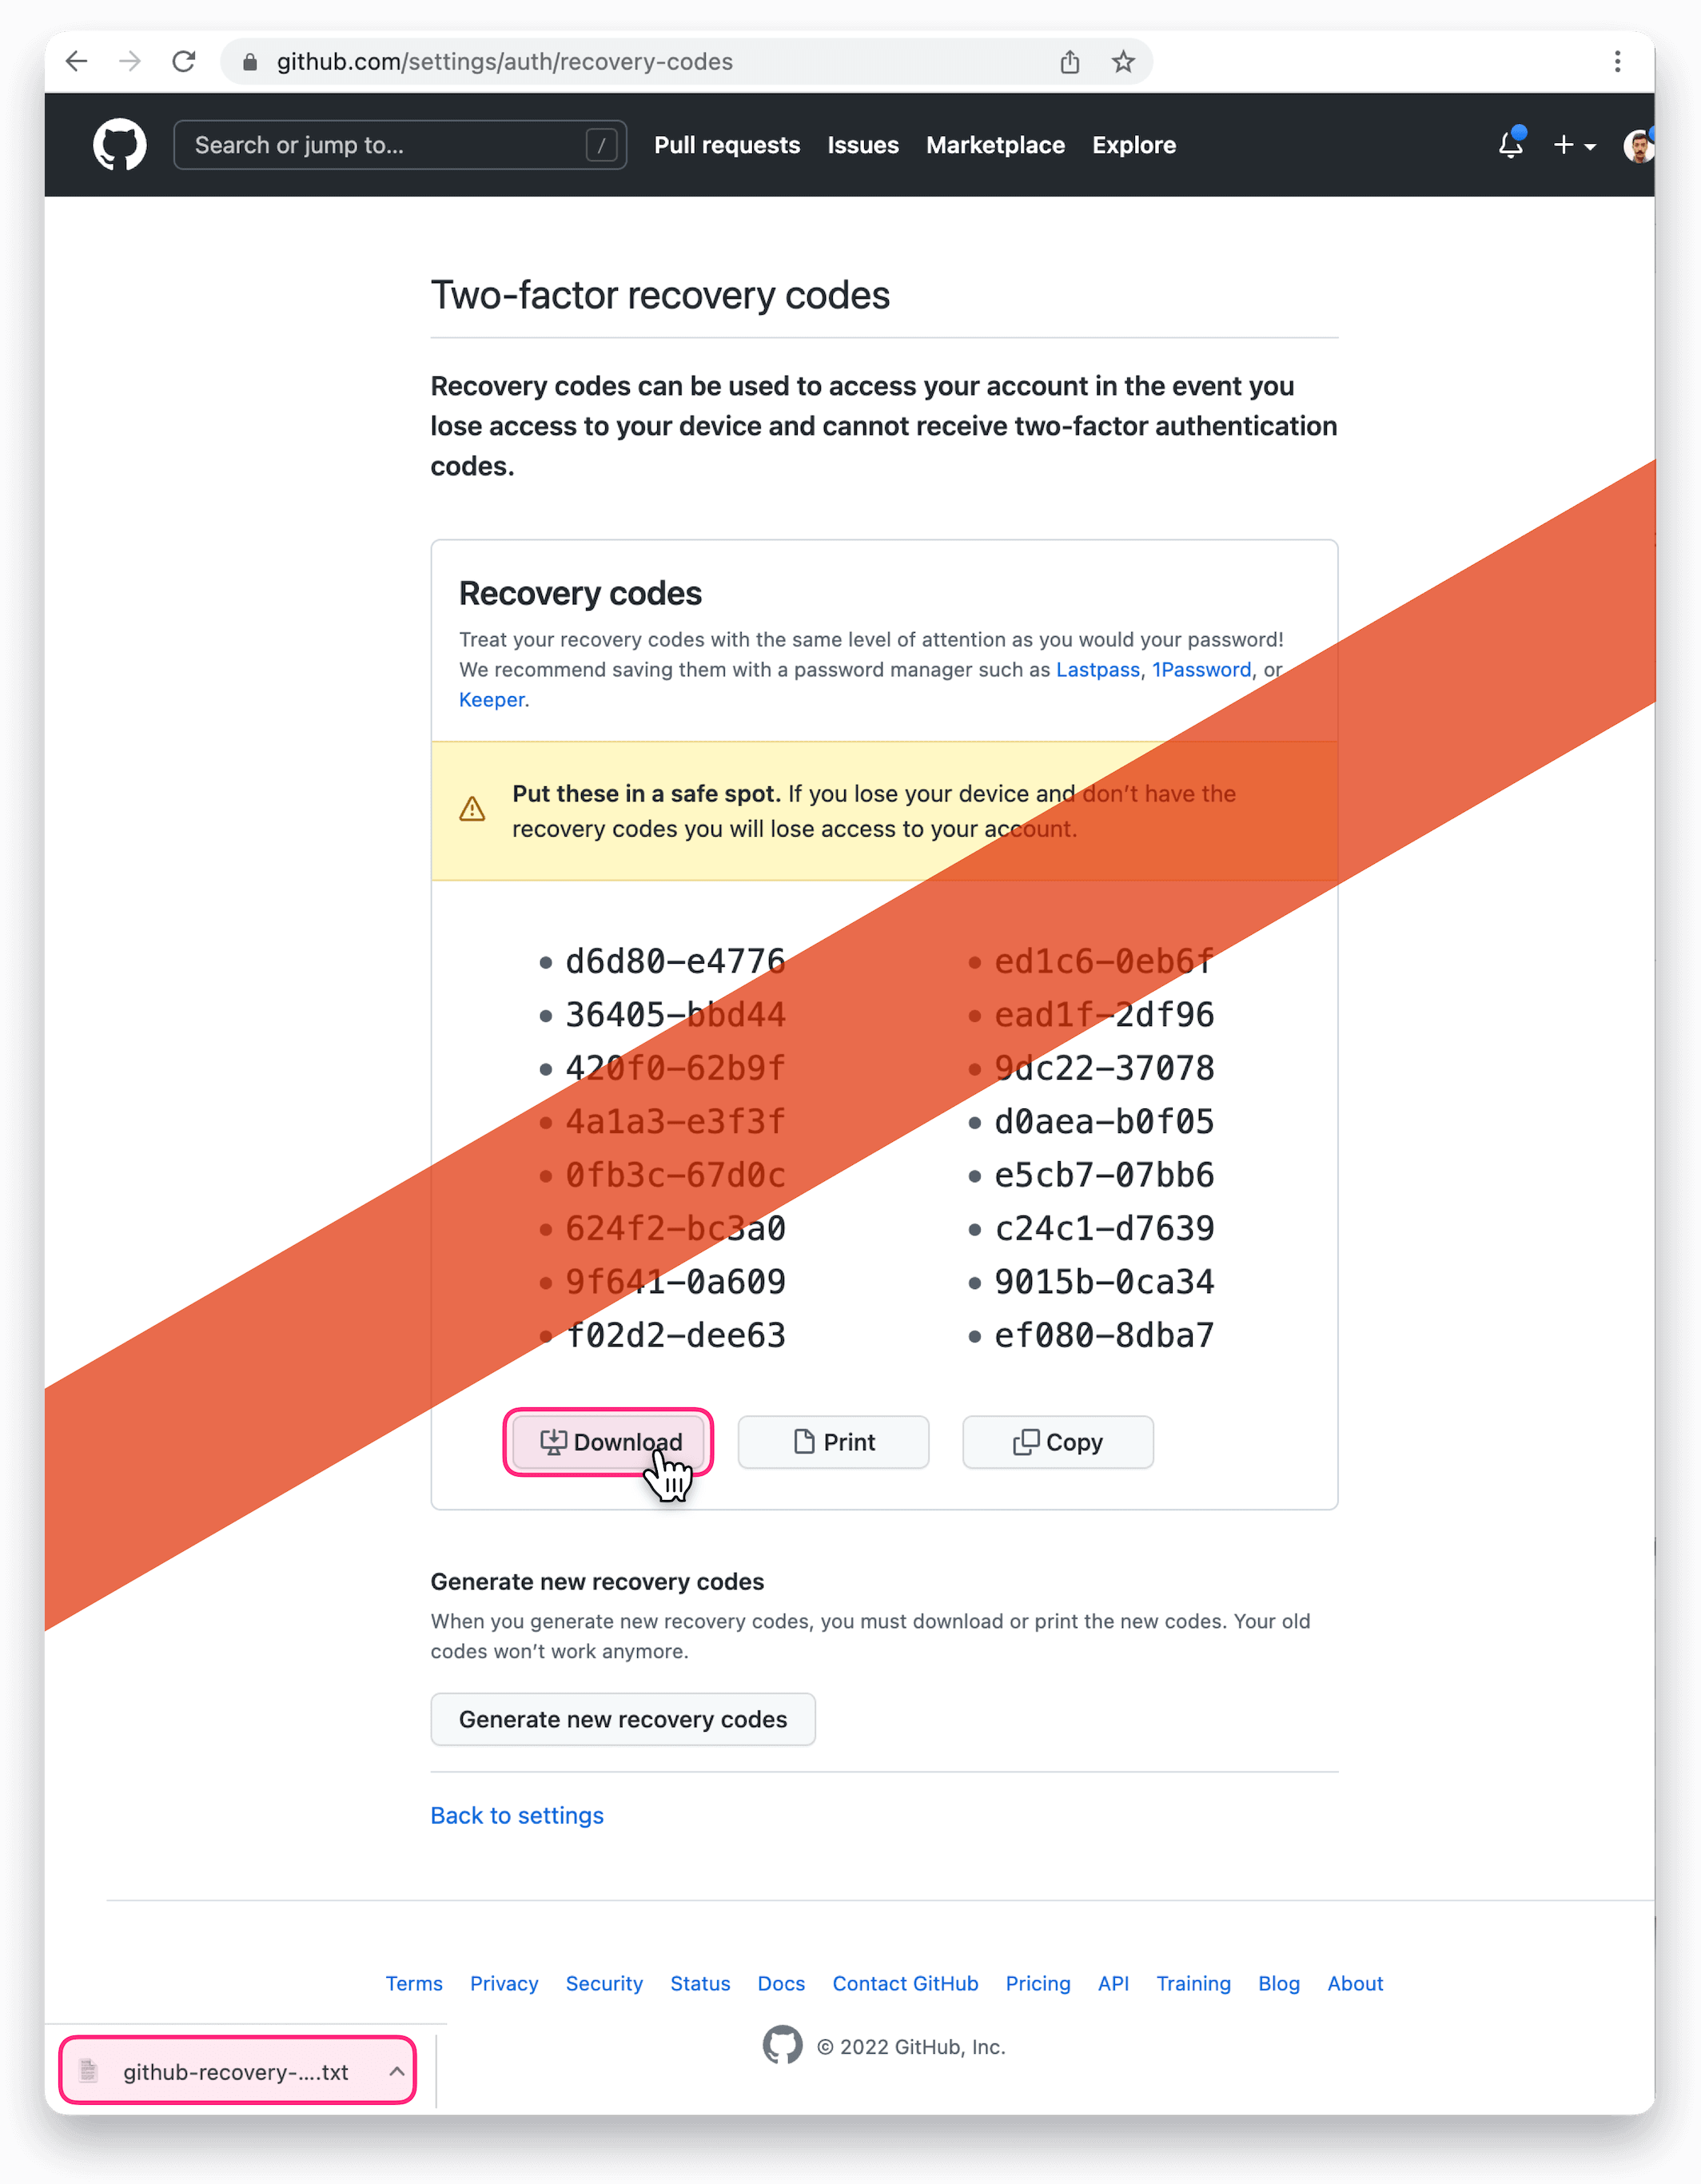
Two-factor recovery codes can be generated by going to the GitHub Settings / Auth / Recovery Codes page.
From there, you are offered a number of choices, including the option to download the codes to a plain-text file as shown in the screenshot below:


How Do I Find GitHub 2FA Codes on My Devices?
It can be tricky to locate these files accurately, especially since they can potentially be located anywhere on the device.
On macOS, one reliable method is to use Spotlight Search to look up files by the URL where the user obtained them. For example, we know that users can download backup codes from the following URLs:
- https://github.com/settings/recovery/download
- https://github.com/settings/two_factor_authentication/recovery_codes
- https://github.com/settings/auth/recovery-codes
- https://github.com/settings/auth/recovery-codes/download
Using this information, we can construct a macOS Spotlight search in the
terminal using the utility mdfind.
mdfind \
"kMDItemWhereFroms = 'https://github.com/settings/recovery/download' ||
kMDItemWhereFroms = 'https://github.com/settings/two_factor_authentication/recovery_codes' ||
kMDItemWhereFroms = 'https://github.com/settings/auth/recovery-codes' ||
kMDItemWhereFroms = 'https://github.com/settings/auth/recovery-codes/download'"
If any files are present on the system, they will output to stdout. On Windows and Linux, finding files this way is not possible. Another approach can be to tap into the download history maintained by the various web browsers which often contains the origin URL of the download.
How Does Kolide’s Detection Work?
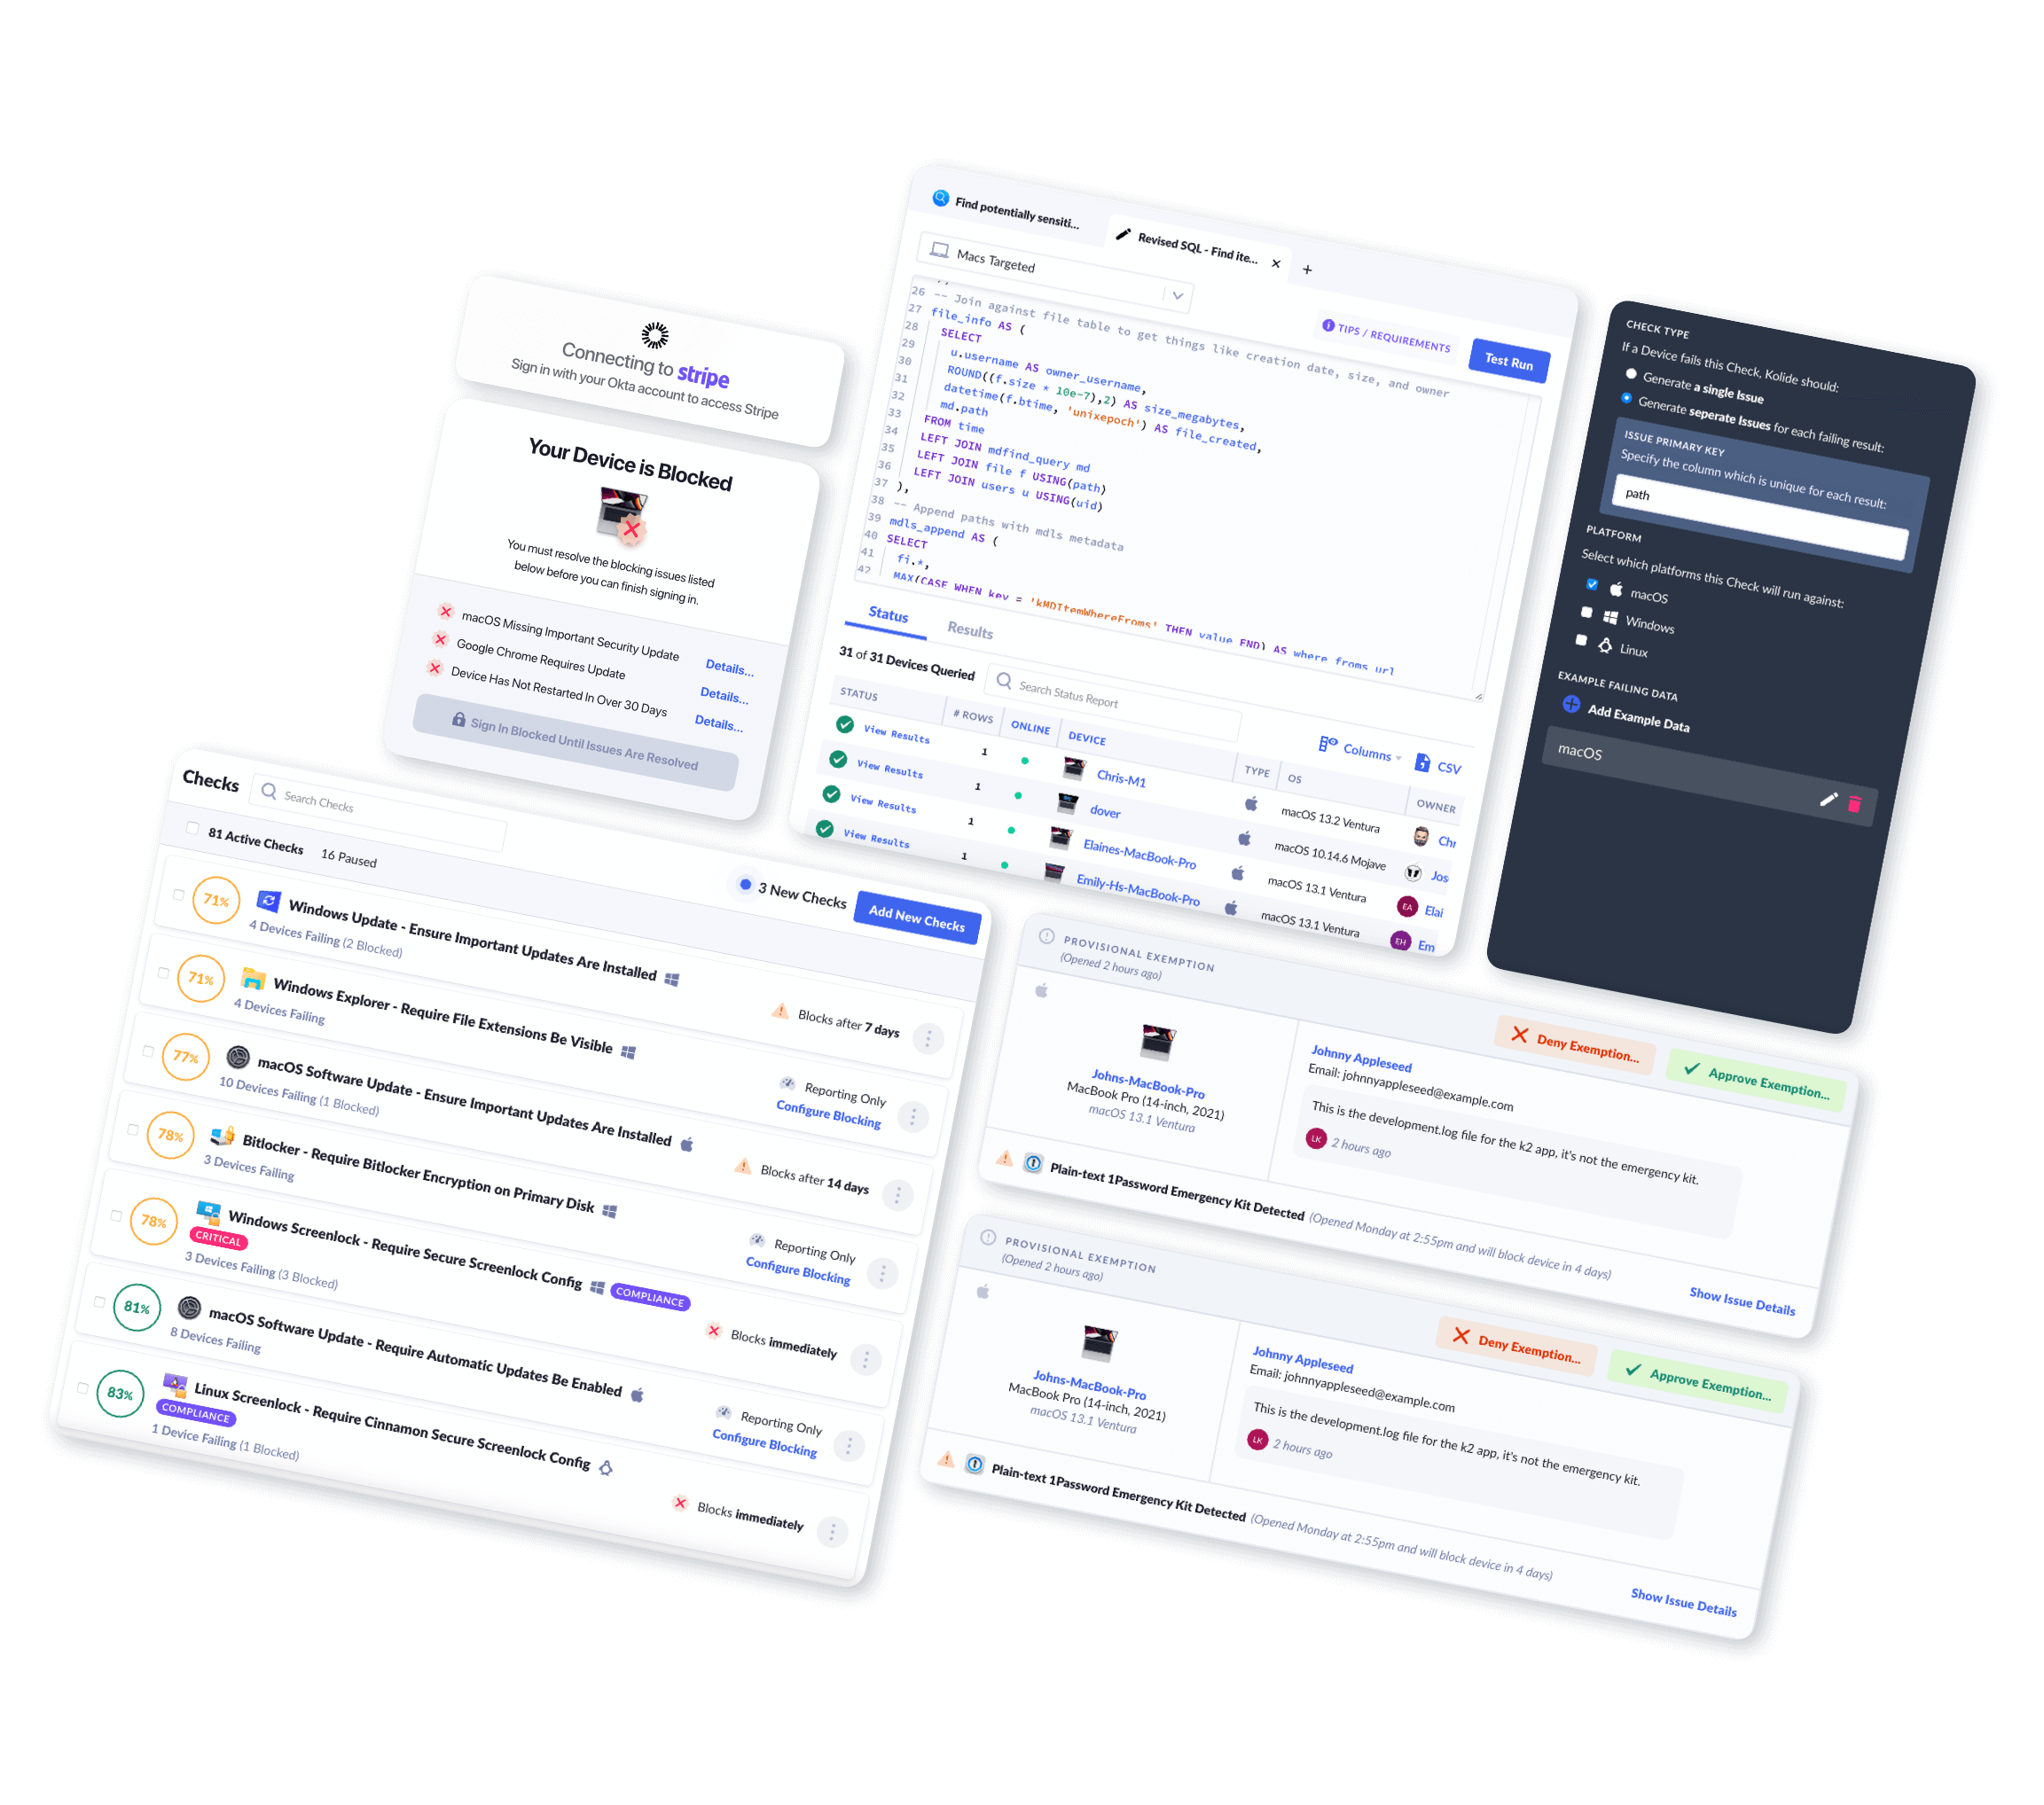
Kolide extends osquery with its endpoint agent to help locate these files across Mac, Windows, and Linux devices using on-device detection, that doesn’t require reading the contents of files or sending private information like your user’s browser history to Kolide.
For example, on macOS, Kolide is able to use osquery, to leverage Spotlight, to find files based on the text inside the file.
On Windows and Linux Kolide can use osquery’s file table in conjunction with automatically constructed tables based on the various web browsers’ download histories.
When used together, this approach allows for near perfect accuracy even if the file was moved or renamed, while preserving privacy (all detection is done on the client).
How Does Kolide Remediate This Problem?
This problem cannot be remediated through traditional automation with tools like an MDM. You need to be able to stop devices that fail this check form authenticating to your SaaS apps and then give end-users precise instructions on how to unblock their device.
Kolide's Okta Integration does exactly that. Onece integrated in your sign-in flow, Kolide will automatically associate devices with your users' Okta identities. From there, it can block any device that exhibits this problem and then provide the user, step-by-step instructions on how to fix it. Once fixed, Kolide immediately unblocks their device. Watch a demo to find out more.
